In this second part of our walk in nature, we’ll look at lighting other parts of a garden: tree trunks, smaller plants and flowerbeds; we’ll finish with a short foray into the dark side of a garden, among the shadows and border areas.
Trunks are expressive, too
In part one, we talked about foliage, but in many landscape designs it is the trunk that dominates the scene because it is so imposing or perhaps because it has a tangle of knots we would like to emphasise.
In most cases, the preferred lighting is a recessed fixture or projector positioned at the foot of the trunk, but
is one enough?
If not, how many?
Which optics do we choose?
As we saw in the first post, we must first understand our setting.
choose the observation point
🔶 If, from the favoured vantage point, only one side of the trunk is visible, a single lighting fixture is probably enough, as in the case of the olive tree below. Wide optics (40°–60°) were chosen here because of the size of the trunk.

projector for outdoor applications, 3000K, 20W, 64°, cor-ten Go to the project and credits
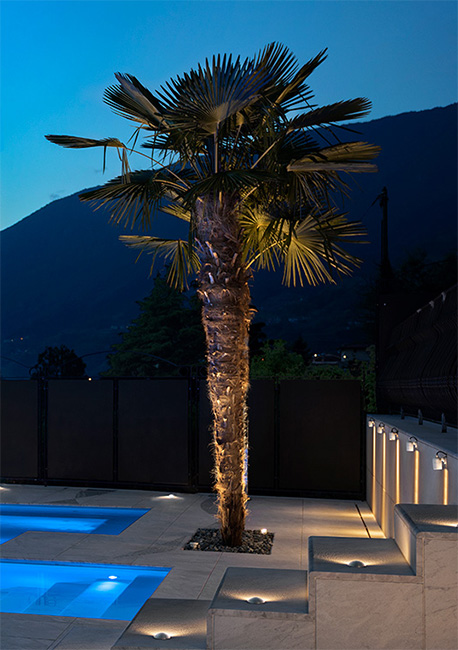
🔶 If, on the other hand, our tree is in the centre of the scene, we’ll work with optics all the way around, to restore the trunk’s three-dimensionality, as in the case of the baobab and the palm tree below, where two lighting fixtures with narrow optics (15°–30°) were used to reach greater heights.

Bright 5.F, 3000K, 19W, 18° Go to the project and credits

Spot 2.6 316L, 3000K, 6W, 24° Go to the project and credits
🔶 There have also been cases where the foliage was literally obscured by the self-centredness of the trunks :)

Bright 3.H, RGBW, 11W, 18° Go to the project and credits 
Spot, outdoor projectors, blue - green- magenta - amber, 6W, 38° Go to the project and credits
🔶 We would like to dedicate our final example to those kinds of trees in which neither the foliage nor the trunk has the upper hand, where their nature is expressed at the point of connection between the two elements, as with the maritime pine. In this case, the 30° optics of a 37W projector reach and exalt the all-important shape that fills a magnificent landscape with personality.

Stra P 1.0, 2700K, 37W, 30° Go to the project and credits
Shrubs and low plants: what lighting do they need?
The same factors apply for them as for tree canopies – but on a smaller scale.
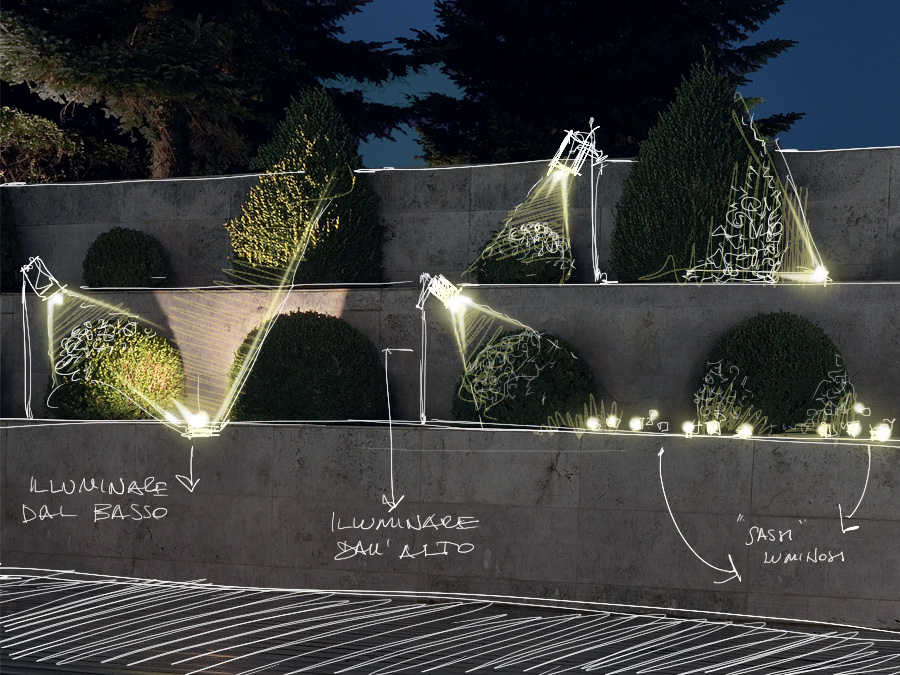
If we decide to use an in-ground fixture, it needs to be low power, about 2W, with a wide beam. However, when used on shrubs, this type of fixture could have entirely the wrong effect. In the image below, the upward output does not envelop the whole shape of the boxwood, and even an adjustable beam is no help here. We run the risk of creating a lot of light spill.
For shrubs, we suggest using projectors that can be precisely directed, and positioned at a height and distance from where they can envelop the foliage. They can be mounted on stakes, for example, to lift the light source and thus also light the upper part of the bush.


Ginko 2.0, jasper green, spike with bracket for in-ground installation
if the branches are not too dense and with the right kind of foliage.


I’ll light your flowerbeds
If we lower our gaze a little further, we come to the flowerbeds, often strewn with white stones, bark or soil.
Our favourite solution is a simple but very effective fixture with an all-glass body: it disappears into its surroundings during the day and at night creates a discreet fairytale light.


Ice LED 1.1, 3000K, 1W Find out more about the product
Ghostly shadows?
Regarding the next two images, we would like to say a word about the shadows that are created when a tree is close to a wall. Of course, we're not trying to teach you your business here, we just want to remind you to look not only at the lighting effects but also at any shadow effects, and to integrate them into the project. For example, they can be used to interact with the residential architecture.
The first image below shows the atrium of an office complex where crisscrossing shadows decorate the path that leads from the greenery into the building. The shadows are generated by a projector with 13° optics that creates the projection of elegant foliage in chiaroscuro.

Ginko 3.0, 4000K, 15W, 13°, anodized black Go to the project and credits 
Spot 2.1, 5000K, 6W, 38° Go to the project and credits 
Spot, 3000K, 6W, 38°, spike for installation in the ground Go to the project and credits
The border areas
Lighting the boundaries, especially in the case of a private home, helps to create a sense of safety and security: in a way, we are marking our and our family’s territory. Often bollards or recessed fixtures are used for this, lighting the perimeter walls.
On the other hand, in parks or hybrid situations where there is a transition between the built environment and natural vegetation, we may wish to create a visual continuum between the areas.

Plin 1.2, 3000K, 12W, cor-ten Find out more about the product

Plin 5.2, 3000K, 8W, anthracite Find out more about the product
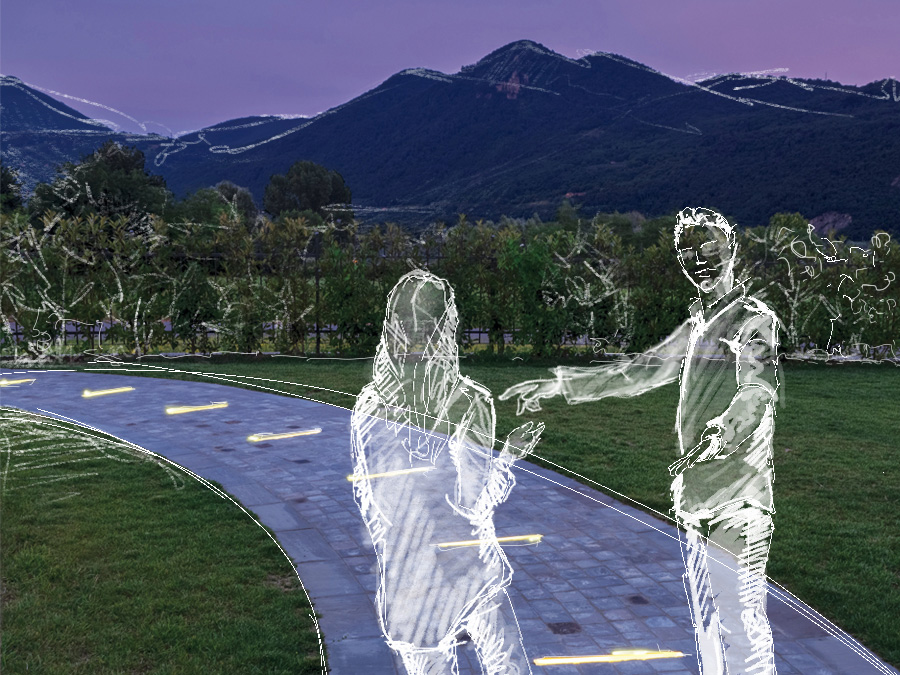
Paths to connect the different areas of a garden
Once we have identified the parts to highlight, we will probably want to link these areas together, or connect the entrance into the garden or park with each of these sections.
We can determine the most appropriate fixture depending on the type of path: bollard, projector, step light or recessed into the ground.
Because there are so many factors to consider, we’ve prepared a blog post entirely dedicated to outdoor pathways.
So far, we’ve talked about the different types of foliage and the different ways of lighting them, of show-stopping trunks, low plants and shadows. Next post: finishes, light colour and coloured light.
Have you lit a particularly exuberant trunk with our fixtures?


